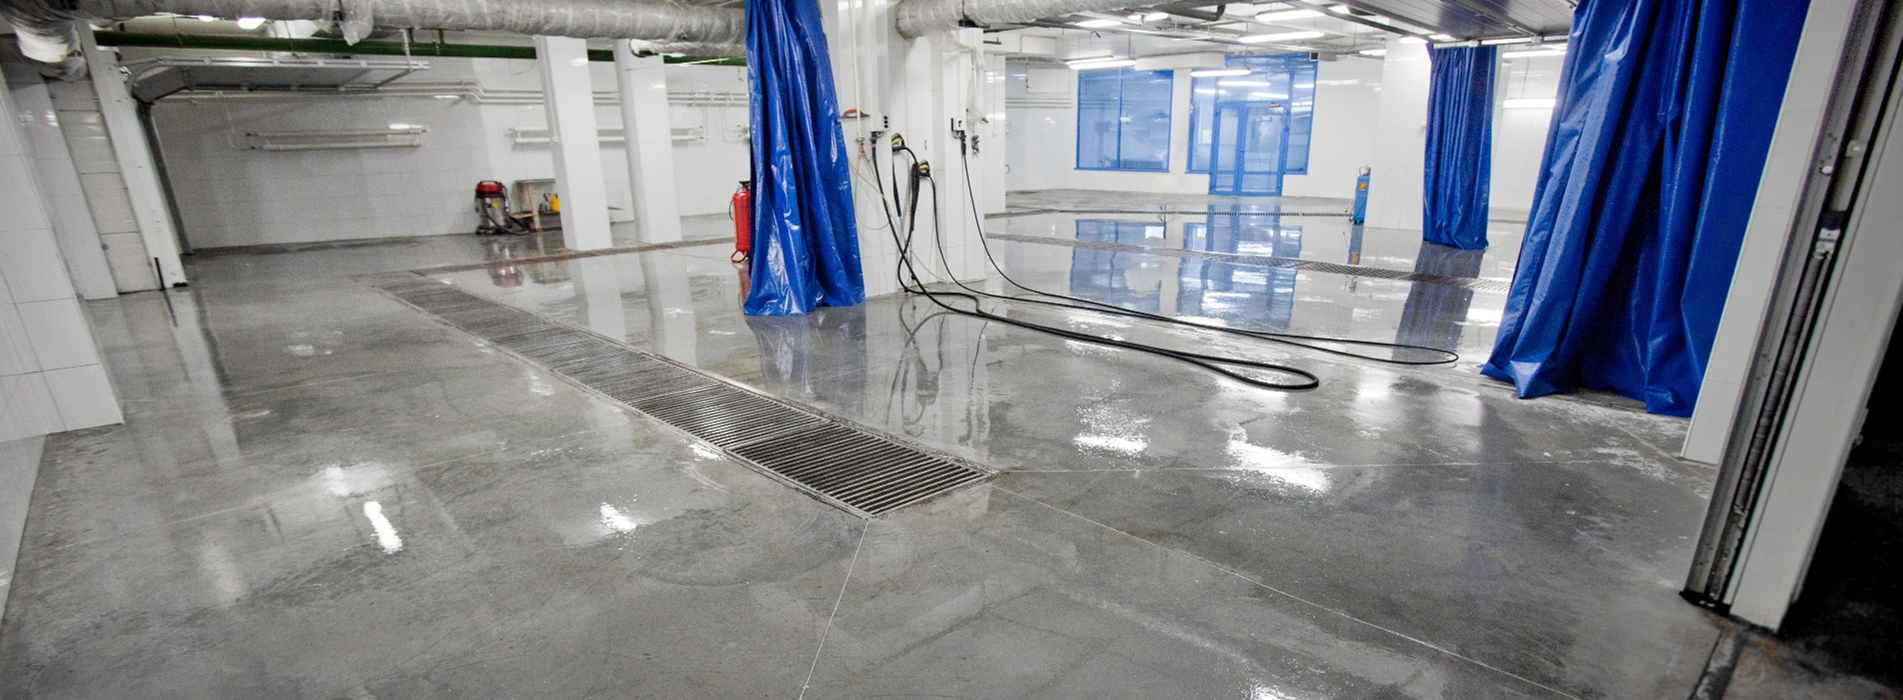
Take a look at our specialised
3 Tradies in 1 service
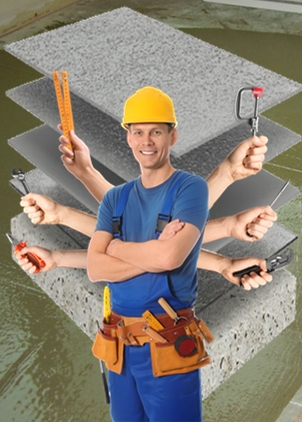
3 Stage Service
3 Tasks / 1 Contractor
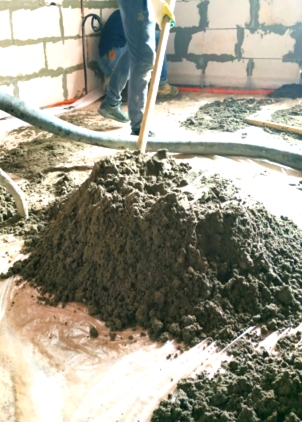
Stage 1
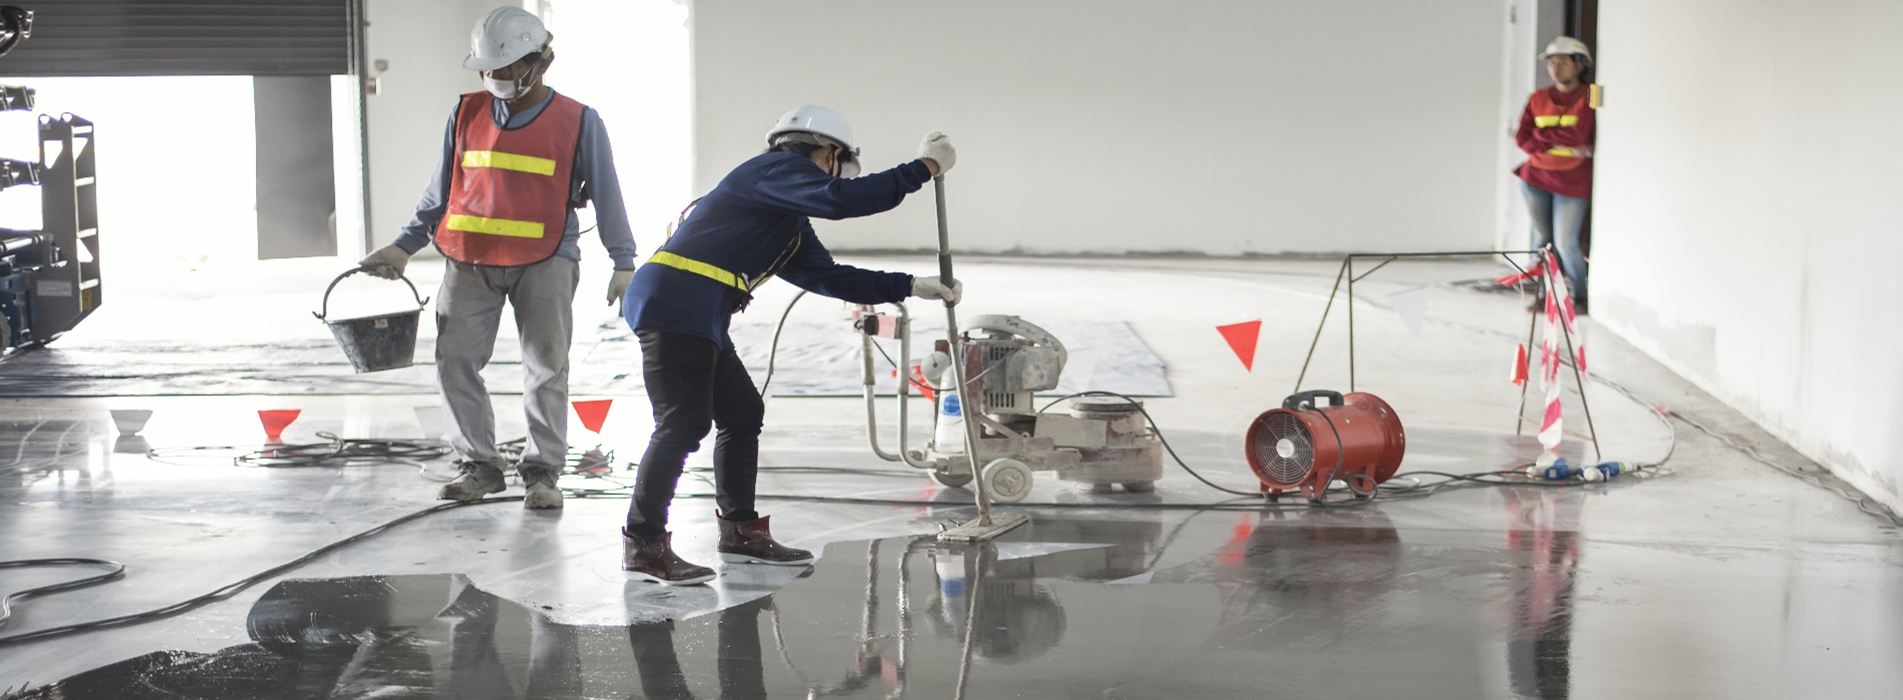
Ramping & Screeding
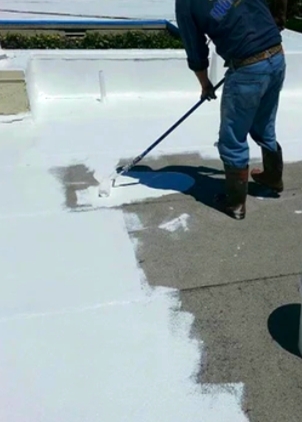
Stage 2
Waterproofing
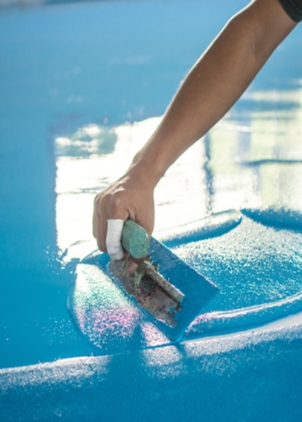
Stage 3
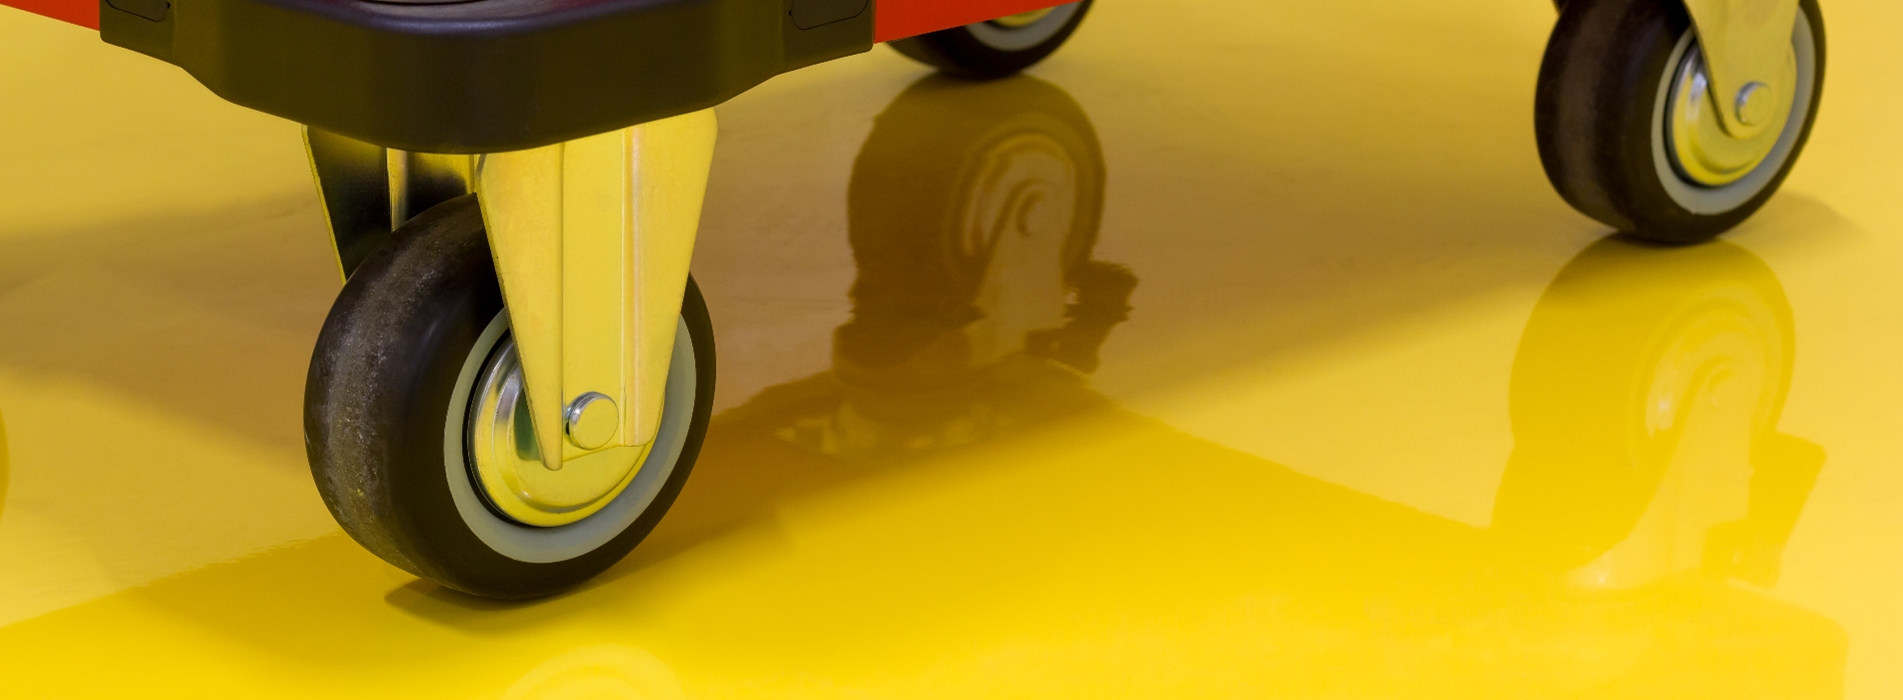
Epoxy Polyurethane
Introduction
We offer a one stop combined service to the Commercial Food & Beverage Production Sector. We are qualified to install the waterproofing, subfloor construction with engineered polymer modified cementitious screed or epoxy mortar screed with 1:100 or greater fall and the Food Grade HACCP epoxy or polyurethane trowel down top layer and coving to National Construction Code or Australian Standards. This ensures that the complete floor is compatible and warranted by Butler’s Epoxy Flooring and the materials manufacturer.
STAGE 1. Waterproofing
Proper waterproofing ensures that the substrate and primary surface is protected from water infiltration and bacterial growth, leading to a more durable and reliable epoxy flooring system.
Changes to the Australian Standard & National Construction Code for commercial wet area floors mandate the installation of waterproofing to the primary or ramped surface of the floor screed to terminate in a suitable puddle flange.
- Here’s a guide to the waterproofing process:
- Surface Preparation
- Cleaning: Thoroughly clean the concrete surface to remove dirt, dust, grease, oil, or any other contaminants that might prevent proper adhesion of the waterproofing layer.
- Grinding/Shot Blasting: Mechanically grind or shot-blast the surface to roughen it, which improves the adhesion of both the waterproofing material and the epoxy coating. It also helps remove any old coatings or surface contamination.
- Repair Cracks: Cut out and fill any cracks exceeding the limits of the waterproofing material to be used, fill holes, or damage in the concrete using a suitable patching compound or epoxy repair kit. This step ensures a smooth and even base for the waterproofing membrane.
- Apply a Waterproofing Membrane or Moisture Barrier
- Moisture Vapor Barrier (MVB): Apply a moisture vapor barrier (MVB) or moisture-blocking primer to prevent moisture from migrating upward through the concrete slab. This is a liquidapplied product that forms an impermeable layer on the substrate.
- Some moisture barriers are two-part epoxy systems designed to block moisture vapor emissions effectively.
- Cementitious Waterproofing: Another option is using an alkali resistant cement-based waterproofing compound, which fill the pores of the concrete and create a dense water resistant layer that gets stronger with moisture contact.
- Using the correct type of waterproofing is essential to the success of the job. Using only manufacturer approved waterproofing systems ensures this will happen.
- The waterproofing membrane should be applied in multiple coats to ensure complete and effective coverage.
- Allow for Proper Curing
- Let the waterproofing layer cure for the recommended period, which can vary depending on the product used and environmental factors. Curing times typically range from 24 to 72 hours. Proper curing ensures that the membrane forms a durable, water-resistant barrier.
- Prevents the Ingress of Moisture: Without waterproofing, moisture can migrate into the building structure causing major damage and health risks.
- Improves Longevity: When waterproofing is properly installed it directs moisture to drain points instead of building up in the subfloor and primary floor surface ensuring that the integrity of the building and the working floor structure.
- Bacteria, Mold and Mildew Prevention: Moisture trapped beneath the epoxy can lead to mold growth. Waterproofing creates a dry environment that discourages the growth of mold and mildew.
- Maintains Structural Integrity: Waterproofing protects the underlying concrete slab from water damage, cracks, or other moisture-related issues that can weaken its structural integrity.
- Hygienic and Easy to Clean: A waterproofed base prevents water accumulation and seepage, keeping the floor clean and free from bacterial growth, which is especially important in food processing areas, kitchens, and healthcare facilities.
- Subfloors: These areas are prone to moisture infiltration, making waterproofing essential before applying epoxy.
- Bathrooms and Wet Rooms: Areas exposed to water require waterproofing to prevent leaks and maintain hygiene.
- Balconies and Terraces: Outdoor spaces that face weather exposure benefit from a waterproofing layer. They can also be coated with a trafficable anti slip flexible polyurethane waterproof system.
- Industrial Areas: Warehouses and factories where water or chemical spills are common need waterproofing to ensure durability.
- Cementitious Waterproofing: A polymer modified cement-based solution.
- Polyurethane Membranes: Highly elastic and flexible, providing an impermeable barrier for areas prone to structural movement or cracking.
- Acrylic: Better suited to domestic applications and walls
Stage 2. Ramped Epoxy Mortar and Engineered Screed
This type of installation is common in food processing facilities, commercial kitchens, bars and areas of regular wet cleaning cycles. A ramped 1:100 minimum fall epoxy mortar or engineered screed installation is an essential stage in creating a purpose designed wet area floor to ensure that the water or other liquids on the floor go to the drain/catchment point. For this reason, it is important that the right type of screed is correctly installed and compatible with the waterproofing.
High grade 4.5-6mm trowelled polyurethane (top layer) coating systems cannot be directly installed onto waterproofing. This may require a second intermediary layer of epoxy mortar or engineered screed to be installed to a minimum of 10mm thickness if the waterproofing is to be installed on the ramped screed. Lesser grade 5mm trowelled epoxy (top layer) systems can however be installed over the correct
Confused?
That is why you need someone who knows manufacturers approved systems and how to install them to their specifications.
- 1. Ramped or Level Epoxy Mortar Screed
• Epoxy Mortar: A fast setting high-strength mixture of epoxy resin and aggregate (washed & graded sand or quartz) that forms a durable, chemical-resistant substrate. Epoxy mortar is ideal for heavy-duty areas due to its superior strength and durability.
• Ramping: The ramped installation involves using epoxy mortar to create gradual slopes or transitions, such as for thresholds, doorways, or to guide water toward drains.
• Applications:
• Access Ramps: Provide a durable base surface for areas requiring ramps to accommodate machinery or pedestrian access traffic suitable for over-coating with anti-slip epoxy or polyurethane coating systems. • Drainage Slopes: Used to create 1:100 fall areas around drains, ensuring proper water flow and avoiding pooling, which is critical in food processing areas to maintain hygiene.
• Threshold Transitions: Smooth transition of less than .5 of a millimetre are readily accommodated between different flooring surfaces, particularly in areas where trolleys, carts, or forklifts operate.
2. Engineered Screed Installation
• Engineered screeds are factory made and packaged high strength polymer modified cement and aggregate blends used to build up, level or create falls. It is used to create what is referred to as the subfloor. An engineered screed is designed for specific performance characteristics, such as added strength, rapid curing, controlled shrinkage and enhanced bonding to substrates.
Key Features:
• Rapid Cure: Many engineered screeds have fast-curing options, 1-3 days, reducing downtime in high-traffic or critical environments.
• High Strength: Engineered screeds are designed to withstand heavy loads, blunt force impact, pedestrian and vehicle traffic, making them suitable for commercial and industrial applications.
• Moisture Resistance: Some engineered screeds are designed to be a trafficable moisture-tolerant surface, others as a subfloor material only, that will have an epoxy or polyurethane system overlay suitable for food and beverage production areas where spills and washdowns are common.
• Applications:
• Floor Levelling: Used to create a level surface prior to the installation of epoxy, polyurethane, or tile flooring.
• Smoothing Uneven Substrates: Engineered screeds can be applied over rough or damaged concrete to create a smooth, even base for subsequent flooring systems.
3. Installation Process
• Preparation: The substrate (usually concrete) must be properly cleaned, repaired, and primed to ensure proper adhesion of both the epoxy mortar or engineered screed.
• Screeding: The engineered screed is applied to level the floor or create the base slope. In some cases, a screed will be used to create the primary slope for drainage.
• Ramped Mortar Application: The epoxy mortar or engineered screed is then applied in areas where a slope or ramp is needed. This could be around drains, at door thresholds, or anywhere a gradual change in elevation is required.
• Finishing: Once the epoxy mortar or engineered screed are cured, a final top layer flooring system, such as a food-grade epoxy or polyurethane finish, may be applied for added protection, hygiene, and slip resistance.
4. Benefits of Ramped Epoxy Mortar & Engineered Screed Installation
• Durability: Epoxy mortar is extremely strong, capable of withstanding heavy loads, blunt force impact, and wear.
• Engineered Screed is more cost effective than epoxy mortar, being typically less than half the price of epoxy mortar materials.
• Customizable Sloping: Allows for custom slopes to meet drainage or accessibility needs, improving water management and reducing the risk of slips and falls..
STAGE 3. Food Grade HACCP Epoxy & Polyurethane Flooring Systems with Epoxy Mortar Coving installed to AS 4674
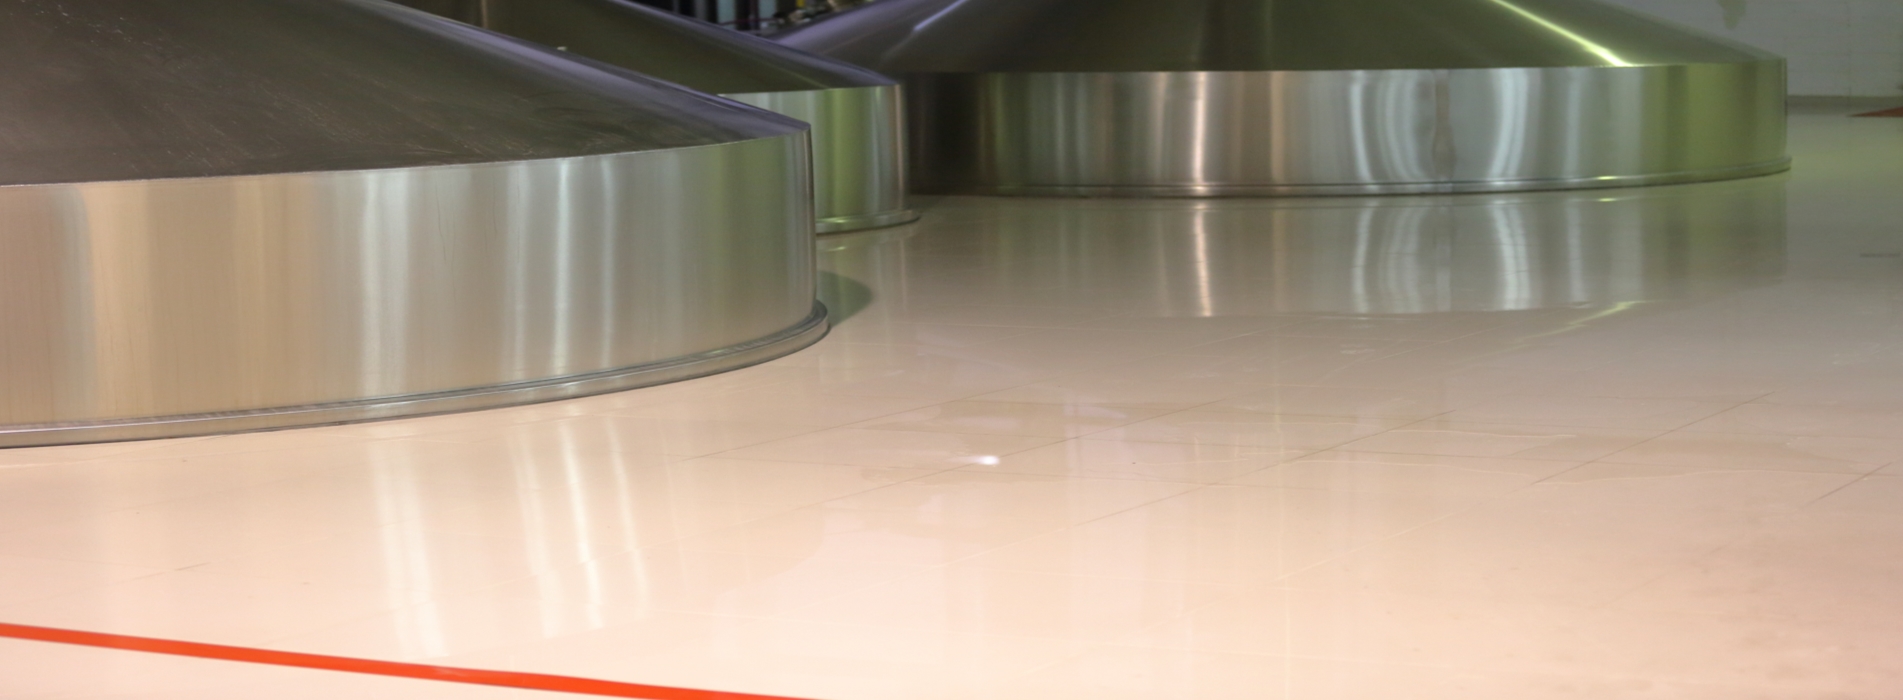
Food grade epoxy and polyurethane flooring systems are specialised floor coatings designed for use in environments where hygiene, durability, and chemical resistance are paramount, such as food processing plants, commercial kitchens, and pharmaceutical facilities.
When combined with epoxy mortar coving, the system ensures a seamless transition between walls and floors, providing enhanced cleanliness and easier maintenance. These systems must comply with standards like Commercial Food Fit-Out AS 4674 and AS4586- 2013 to ensure that they meet safety and performance requirements specific to food preparation and handling areas.
Here’s a breakdown of the key components:
1. Food Grade Epoxy Flooring
• Epoxy is a highly durable, non-porous material that resists chemicals, bacteria, abrasion, and moisture. It’s ideal for areas exposed to heavy traffic, frequent cleaning, and chemicals used in food processing.
• Food Grade Compliance and HACCP (Hazard Analysis & Critical Control Point): Epoxy flooring for food facilities must be certified as safe for incidental food contact and must meet hygienic standards to avoid contamination.
• Slip Resistance: The surface can be modified to be slip-resistant, critical for worker safety.
• Temperature Tolerance: Epoxy can withstand temperature variations but is typically better suited for areas with controlled temperatures, like dry storage or packaging rooms.
2. Polyurethane Flooring
• PU (Polyurethane) flooring is stronger and has greater chemical resistance and temperature change tolerance than epoxy, which makes it better for environments with temperature fluctuations, like freezers or areas exposed to hot washdowns.
• Thermal Shock Resistance: Polyurethane systems can withstand a broader scope of sudden changes in temperature, which makes them ideal for food processing plants where hot and cold liquids are used.
• Chemical Resistance: This system also provides excellent resistance to cleaning agents, cooking oils and chemicals found in food processing environments.
3. Epoxy Mortar Coving
• Coving involves installing a smooth, curved transition between the floor and walls, creating a seamless surface that’s easy to clean and prevents the accumulation of dirt or bacteria. It can be installed with 30, 50,70mm or larger radius.
• Epoxy Mortar: A heavy-duty material often used in coving to ensure durability and strength in high-traffic areas. It resists impact, abrasion, and chemicals.
• Importance of Coving: In food processing, it helps comply with hygiene standards, such as AS 4674, ensuring surfaces are easy to clean and disinfect.
4. Compliance with AS 4674
• AS 4674 is the Australian standard for the design, construction, and fit-out of food premises. It outlines specific requirements for flooring, including:
• Floors must be constructed from materials that are durable, impervious, and easy to clean.
• Coving is required at the floor-wall junction to avoid sharp corners where contaminants could accumulate.
• Surfaces must be resistant to impacts, abrasions, and chemicals used in the cleaning process.
• The flooring system must comply with AS 4586-2013 for slip resistance requirements to ensure safety in wet conditions.
Benefits of Food Grade Epoxy & Polyurethane Flooring:
• Hygienic: Seamless finish with coving and anti-bacterial additives prevents bacterial growth.
• Durable: Long-lasting under heavy loads, foot traffic, and cleaning cycles.
• Easy Maintenance: Designed for simple cleaning process.
• Compliant: Meets food safety and hygiene regulations like AS 4674.
• Repairable: Quick turnaround when repair is needed. This type of flooring system is crucial for maintaining high levels of cleanliness and safety in food and beverage environments, aligning with industry standards to prevent contamination and ensure worker safety.



about us
Choose Your
Own Color
Consider the existing elements in the room: When choosing colors
for a room, consider the existing elements such as furniture, artwork
and flooring, and choose colors that
